Peak bagging is known as summiting two or more peaks in one hike. In New Hampshire bagging peaks refers to getting to the top of 1 of the 48 4,000 footers in the white mountains region. This hike does exactly that, you summit 2 of the 48 4,000 footers (about 4% of the way to doing all of them haha) in this one 10.2 mile hike (give or take 2/10 of a mile). That being said this is one of the harder hikes in the white mountains(class 3). It is a very difficult hike that involves some scrambling (climbing with both feet and hands). The beginning of the hike starts from the flume visitor center. You start on the bike path at the flume visitor center, the same one that leads to the trailhead for Mt.Pemigewasset. Walk up this paved path for about 0.9 miles.

My friend Jesse by the trail sign. You’ll probably hear about him making and influencing policies in the conservation world in a couple of years.
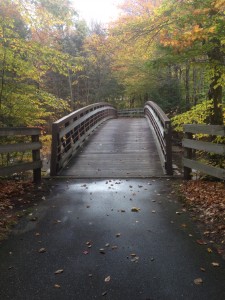
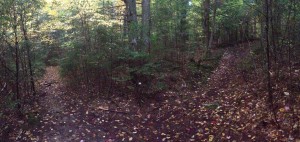
You will then cross this bridge which, a couple of hundred feet (if that) over it is the trailhead on your right. This is where you will come across the sign for Liberty Spring Trail (part of the appalachian trail). Take the Flume Slide Trail for 0.6 miles until you come to a break to go left or right. The trail on the left, Liberty Spring Trail brings you to the summit of Mt. Liberty. While the trail on the right, Flume Slide Trail brings you to the summit of Mt.Flume. If you’re doing the loop I would recommend going up Mt.Flume and down Mt.Liberty because of the sheer steepness of the Flume Slide Trail (towards the top). Once you’re at the top you will come to a trail sign for the Franconia Ridge Trail. It will direct you towards the left to go to the summit of Mt. Flume and towards the top of Mt.Liberty(1.2 miles). The top of Mt.flume has some breathtaking views I would imagine (to socked in when I went). The openess at the top has you looking at over some pretty gnarly cliffs.
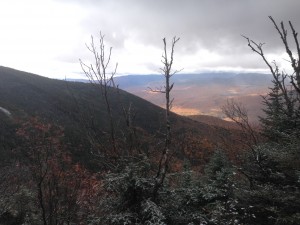
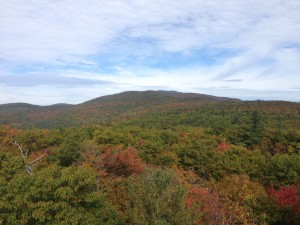
Quick view before the clouds came back.
Follow the trail for 1.2 miles until you summit Mt. Liberty another one with spectacular views (views came and went depending on clouds). Then down the Liberty Springs Trail where you come to the Liberty Springs tentsite about 0.3 miles down the trail. Also across from this is an area to fill up your water. After going down to the trail for 2.3 miles you’ll come to the trail you started on. After another 0.6 miles you will be back on the bike path. Go down this path for 0.9 and you’re back to where you parked. At this point you are probably thinking or talking about how enjoyable the hike was and that you are glad you didn’t go down the Flume Slide Trail only up it.
Getting There
Getting to the trailhead is fairly easy. Heading north you take exit 34A off of I-93 onto RT.3. From here you go north about 0.3 miles to the Flume Visitor Center on your right. Try to park as far left as possible (when facing the visitor center) in the parking lot. This is where the bike path starts, which you will have to walk for about 0.9 miles to get to the trailhead. If you have any questions or concerns about finding the trail or the hike itself just go into the visitor center and speak with a ranger, they will be more than happy to answer your questions.
–This is the address, contact info, and hours of operation to the Flume Visitor Center
-852 Daniel Webster Hwy, Lincoln, NH 03251
-603) 745-8391
-7 days a week 9am-5pm
FYI
-The Flume Slide Trail is truly steep at the top. It can get wet which makes it very slippery. If you can avoid going down this trail, do it, it will make your hike more enjoyable. So if you’re doing the loop, summit Mt.Flume first and Mt.Liberty second for a more appealing descent.
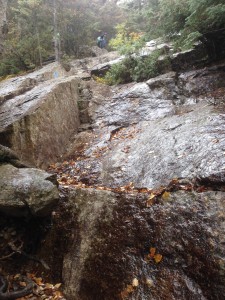
example of the steepness and wetness where you will need to scramble
-Also There is a water source right across from the tent site on Liberty Springs Trail. If you are lacking water this is a great spot to refill for anyone (no water filtration needed).
-Don’t worry! If you think the two peaks is too much or you don’t have enough time you can always do just one of them. Pick between Mt.liberty or Mt.Flume and save the other one for another day! Just make sure you gather info. on which either one you decide to do.
-A great thing about this loop is that it can be broken up into a two day-one night hike. It’s long enough to make this a fairly easy overnight hike and the campsite on the trail makes it even more perfect for that! Only 0.5 miles from summit of Mt.Liberty
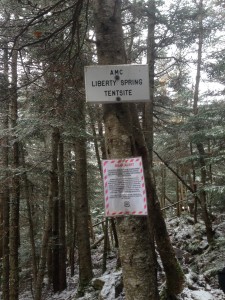
liberty spring campsite

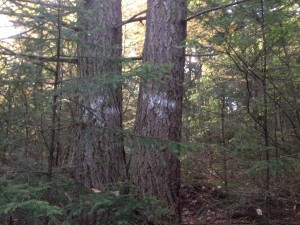
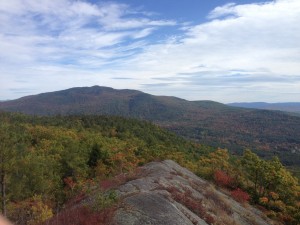
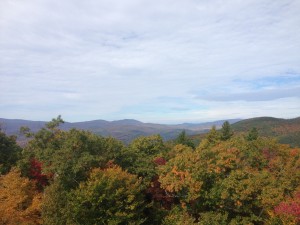
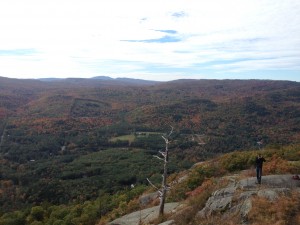
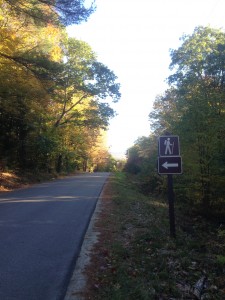
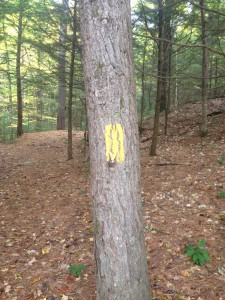
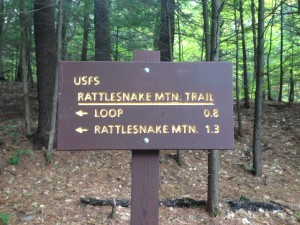 ou’re almost at the top of the mountain the trail splits left and right. Either way will bring you to the summit. Keep walking once you’re at the top, it will bring you in a loop back to the trail you began on. The loop is not long and this is how you’ll get all the views. So come prepared, follow the yellow trail markers and enjoy your hike!!