Jennings Peak (3460 ft) and Noon Peak (2976 ft)


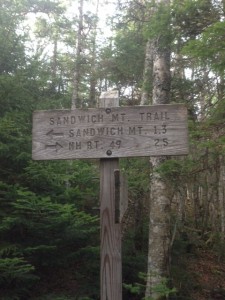
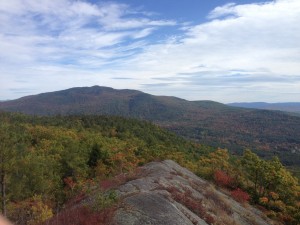
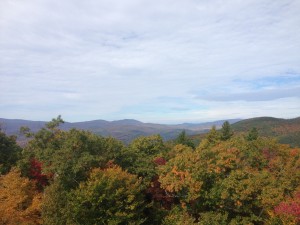
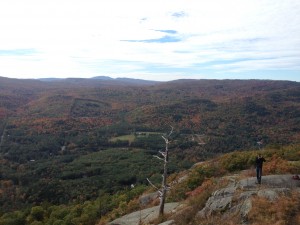
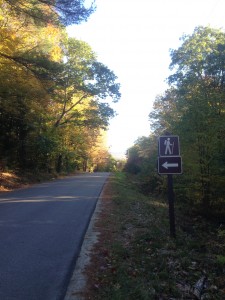
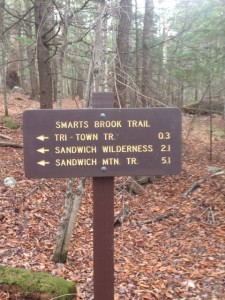
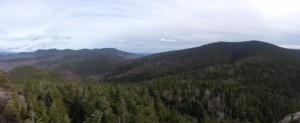
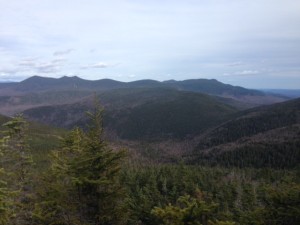
I did these two peaks as a trail run with a bike spotted up the road at the beginning of the Sandwich Mtn trail and Drakes Brook trail. This was recommended to me by one of my professors and I have to say it was a great experience, mixing the trail run with a bike ride was a lot of fun. For the beginning of this route you park at the Smarts Brook trail parking lot. Here in the parking lot there are trail signs, which you should look at before taking off on your adventure because there are many smaller trails that break off of the Smarts Brook trail, used primarily for walking and cross country skiing in the winter. Starting on the Smarts Brook trail you will see thisIMG_3812 first sign by the parking lot. The beginning of this trail is an easy trail as it use to be a logging road. As you follow the trail you will also follow the Smarts Brook, which you will have to cross over a few times. The trail gets both muddy and wet at points so bring a waterproof pair of hiking boots or an extra pair of socks (unless you don’t mind wet feet). Also I would not recommend this trail after heavy  rain. Once you have gone 2.1 miles you reach the Sandwich Wilderness where the trail starts to change, it turns into a narrow trail through a beautiful forest. On the trail the footing is good for the most part and it is mellow in elevation gain for most of the time with the exception of 3-4 steeper areas. At the end of this trail you come to an intersection, you want to go left here towards Jennings Peak. The peak for the trail in only about 4/10ths of a mile up the trail on your left. Once at the top the mountain rewards you  with some spectacular views of the east and southwest.
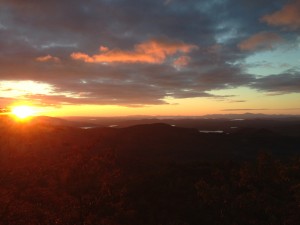
IMG_3814

Eastern view

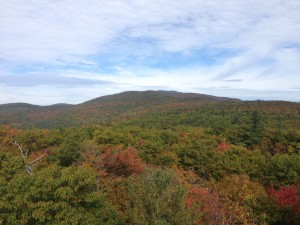
IMG_3816

Sandwich Dome far right

Come down from the side trail of Jennings Peak and continue left on the trail and you come to a 3 way intersection,

IMG_3827

left is Sandwich mtn trail. Right is Drakes Brook trail

here you want to follow the signs to RT.49. This will bring you to the parking lot where either your car or bike are. I followed the sign that  said:” –> RT.49    2.5 mi.” This brings you to Noon peak and down the Sandwich Mtn. trail. It is a steep trail and not the best for running. However, you can take the Drakes Brook trail down, which I recommend, especially if you’re jogging. It is a little longer, but much more gradual. This trail totals 8.8 miles and brings you to the parking lot where I left my bike. I hopped on and started riding down RT.49, which has wide shoulders to ride on and not much traffic. It follows the Mad River down to the Smarts Brook parking lot. This bike ride is almost all slightly downhill and in almost exactly 5 miles (4.9 miles) you are back where you started.

Getting There

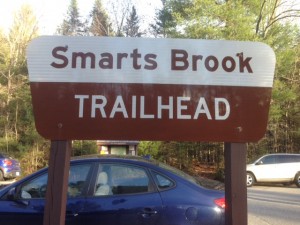
Start on I-93 and take exit 27 off onto Rt.3.  Continue North on Rt.3 for about 2.3 mileIMG_3841s until you come to the junction for Rt.49 on your right. Continue on Rt.49 for 6.1 miles and you will see the sign for the Smarts Brook parking lot on your right.
FYI

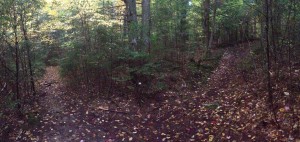
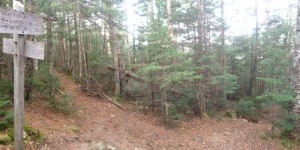
When starting this trail make sure to look at the maps in the parking lot because there are a lot of other trails that intersect with the Smarts Brook trail in the beginning. Also when running or hiking on the Smarts brook trail be prepared to get your feet wet, parts of this trail are very wet and muddy. Once you are coming down from Jennings Peak and go left you come to the 3 way intersection.IMG_3825IMG_3824
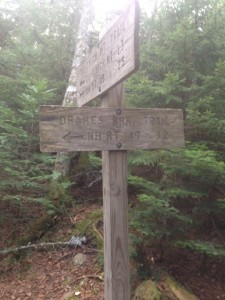
At this intersection you have two options, one is to go down the Sandwich Mtn. trail (picture on the right), which is the steeper of the two trails. Your other option that I recommend is going down the Drakes Brook trail (picture on the left) because it is not as steep. Lastly just lock your back at the other parking lot so it is there when you are. The hike/jog is about 9 miles (8.8 miles) and the bike ride is 5 miles. Get out, be active and enjoy the loop!!
Campton Bog

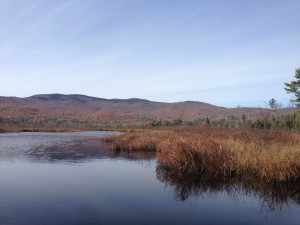
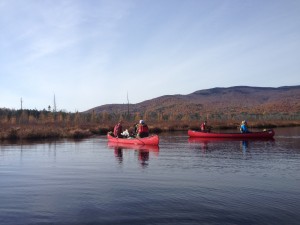
The Campton Bog is a great place to do some flat water paddling. This is a scenic area that has mountains as the back drop in almost all directions.IMG_3784 Whether looking to relax and enjoy the outdoors for the day or to go nature viewing this is a prime spot. The wildlife in this part of New Hampshire is amazing! Look for Waterfowl, deer, moose, birds, otters, beavers and more among the vast variety of marshland plants.

IMG_3739

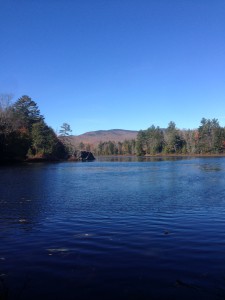
Bog Pond (beginning where you launch)

Coming in from either Bog Rd. or Beech Hill Rd. you’ll start at Bog pond where you can park your car and launch your watercraft. You can paddle around and check out the beautiful views on this pond, as you paddle about .3 miles to the other side of the pond it starts to narrow. Paddling up with this way is a lot of fun.  If you wish to continue not to far up is a small beaver damn. You will have to portage over this so be sure to have on the proper footwear. On your way back if you want a little more excitement in your trip you can get some momentum and steer your canoe or kayak right over this damn, try not to flip! After the damn the bog continues for a good stretch until the main channel is blocked by another beaver damn. If you made it this far and head back you would have completed your 3-3.5 mile round trip tour of the Campton Bog!

Getting There

Arriving at the Campton Bog from I-93 is fairly simple. From 93 you take exit 27. Go West onto Blair Rd. If you were heading north on 93 you would take your first left and if you were heading south on 93 you would take your first right onto Blair Rd. Then take your first left (1/10th of a mile if that) onto Bog Rd. Follow this road for another 2.3 miles and it will bring you right to Bog Pond. Launch your watercraft or just walk around, but enjoy the day!

FYI

When driving on Bog Rd. to get the Bog pond make sure you do not take beaver brook Rd. After driving on Bog Rd. for about .7 miles it bears right and want to follow it. If you keep going straight it will bring you out of the way onto beaver brook Rd.

Also I have been on this Bog a few times now and I highly recommend it. The views are great and it’s secluded; of the 3 times I have been I haven’t seen anybody else on the water besides myself and the people I came with.

IMG_3789

One more pic for good luck!


Mt. Chocorua (3,475ft)

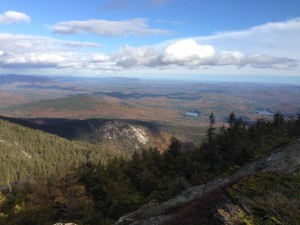
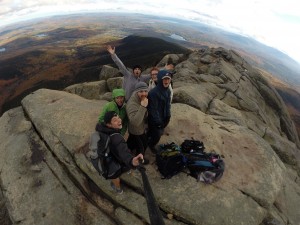
Mt. Chocorua via the Champney Falls trail is located in the town of Albany NH. This mountain is just east of the sandwich range wilderness and is the eastern most peak of the sandwich range. To summit Mt.Chocorua you hike for 3.9 miles. The trails are well kept, with moderate elevation gain, making it a moderate hike overall.  This trail starts right off of RT.112. In the first 1.5 miles of the trail you are rewarded with the Champney Falls. This is an easy part of the trail to access. From the parking lot and back it only takes about 2.5 hours. After the falls you hike another 1.5 miles (following the signs to mt.Chocorua on the way up) until you are above tree line. This is when you start getting some picturesque views. Once you get on the peak of this rocky summit  you will have 360° views. The eastern and southern exposure

IMG_3752

view at the first break in tree line.

gives you a great view of the lakes region. At the top you have two options. You can either do the summit loop which only adds about .2 miles onto your hike or you can go right back down the way you came. Totaling the hike to about 7.8 miles, which going at an average pace will take about 6 hours give or take.


Getting There

IMG_3776

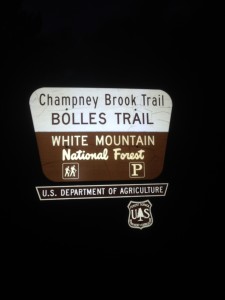
sign by the road for parking lot and trailhead

The easiest way to get to this trailhead is to take I-93 until exit 32. Get off this exit onto Rt.112, (Kancamagus Hwy) take this road east for about 26 miles (40 minutes) and you will see the parking lot on your right. The big sign that says “Chapmney Brook Trail, Bolles Trail” is where you will park and find the trailhead.


FYI

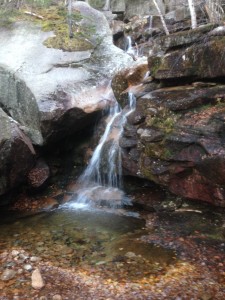
In the first tenth of a mile of this hike the trail will split. Make sure you stay to the left (Champney Falls Trail). The other trail is called Bolles trail and will take you into the sandwich range wilderness. Other than that the trail is pretty easy to follow, if you follow the signs for Mt. Chocorua at the different intersections on the trail. Be sure to check out the falls on the way up too. During high water they are spectacular, however, they are quite scanty when it is dry.

IMG_3768

one of the waterfalls (was not very wet).

DCIM105GOPRO

The rocky peak with great views and great people

Mt.Flume (4,328ft) and Mt.Liberty (4,459ft) Loop

Peak bagging is known as summiting two or more peaks in one hike. In New Hampshire bagging peaks refers to getting to the top of 1 of the 48 4,000 footers in the white mountains region. This hike does exactly that, you summit 2 of the 48 4,000 footers (about 4% of the way to doing all of them haha) in this one 10.2 mile hike (give or take 2/10 of a mile). That being said this is one of the harder hikes in the white mountains(class 3). It is a very difficult hike that involves some scrambling (climbing with both feet and hands). The beginning of the hike starts from the flume visitor center. You start on the bike path at the flume visitor center, the same one that leads to the trailhead for Mt.Pemigewasset. Walk up this paved path for about 0.9 miles.

IMG_3712

My friend Jesse by the trail sign. You’ll probably hear about him making and influencing policies in the conservation world in a couple of years.

IMG_3720

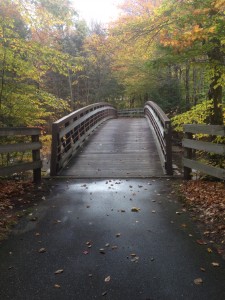
Bridge right before trailhead.


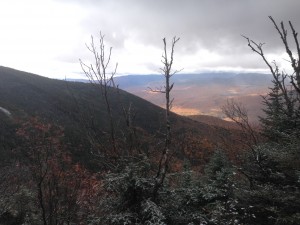
You will then cross this bridge which, a couple of hundred feet (if that) over it is the trailhead on your right. This is where you will come across the sign for Liberty Spring Trail (part of the appalachian trail). Take the Flume Slide Trail for 0.6 miles until you come to a break to go left or right. The trail on the left, Liberty Spring Trail brings you to the summit of Mt. Liberty. While the trail on the right, Flume Slide Trail brings you to the summit of Mt.Flume. If you’re doing the loop I would recommend going up Mt.Flume and down Mt.Liberty because of the sheer steepness of the Flume Slide Trail (towards the top). Once you’re at the top you will come to a trail sign for the Franconia Ridge Trail. It will direct you towards the left to go to the summit of Mt. Flume and towards the top of Mt.Liberty(1.2 miles). The top of Mt.flume has some breathtaking views I would imagine (to socked in when I went). The openess at the top has you looking at over some pretty gnarly cliffs.

IMG_3716

Quick view before the clouds came back.

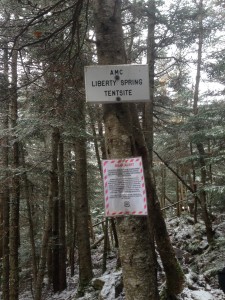
Follow the trail for 1.2 miles until you summit Mt. Liberty another one with spectacular views (views came and went depending on clouds). Then down the Liberty Springs Trail where you come to the Liberty Springs tentsite about 0.3 miles down the trail. Also across from this is an area to fill up your water. After going down to the trail for 2.3 miles you’ll come to the trail you started on. After another 0.6 miles you will be back on the bike path. Go down this path for 0.9 and you’re back to where you parked. At this point you are probably thinking or talking about how enjoyable the hike was and that you are glad you didn’t go down the Flume Slide Trail only up it.


Getting There

Getting to the trailhead is fairly easy. Heading north you take exit 34A off of I-93 onto RT.3. From here you go north about 0.3 miles to the Flume Visitor Center on your right. Try to park as far left as possible (when facing the visitor center) in the parking lot. This is where the bike path starts, which you will have to walk for about 0.9 miles to get to the trailhead. If you have any questions or concerns about finding the trail or the hike itself just go into the visitor center and speak with a ranger, they will be more than happy to answer your questions.

This is the address, contact info, and hours of operation to the Flume Visitor Center

-852 Daniel Webster Hwy, Lincoln, NH 03251

-603) 745-8391

-7 days a week 9am-5pm

FYI


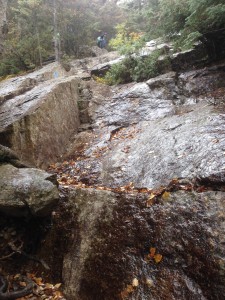
-The Flume Slide Trail is truly steep at the top. It can get wet which makes it very slippery. If you can avoid going down this trail, do it, it will make your hike more enjoyable. So if you’re doing the loop, summit Mt.Flume first and Mt.Liberty second for a more appealing descent.

IMG_3715

example of the steepness and wetness where you will need to scramble

-Also There is a water source right across from the tent site on Liberty Springs Trail. If you are lacking water this is a great spot to refill for anyone (no water filtration needed).

-Don’t worry! If you think the two peaks is too much or you don’t have enough time you can always do just one of them. Pick between Mt.liberty or Mt.Flume and save the other one for another day! Just make sure you gather info. on which either one you decide to do.

-A great thing about this loop is that it can be broken up into a two day-one night hike. It’s long enough to make this a fairly easy overnight hike and the campsite on the trail makes it even more perfect for that! Only 0.5 miles from summit of Mt.Liberty

IMG_3719

liberty spring campsite


Mt. Prospect (2,064 ft)

IMG_3694

sunrise from summit

Yesterday I decided to wake up and do a trail run up mt. prospect, a moderate hiking trail that I have done before.  This trail begins with a constant elevation and also has some very gradual parts. It has awesome footings the whole way up and about the first 8/10th of a mile the trail was actually part of an old road where they would bring people up from the hotels in the aread. This makes for a nice wide trail and it’s so old that you can’t even tell it use to be a road. Off the main trail there are other trails to explore. If you want to lengthen this run or hike this is a great way to do it, especially since all the trails eventually lead back to the main trail. After hiking for just under 1.5 miles you come to the summit of 2,064 ft; however, you only gain a little over 1,000 ft elevation from the trailhead. Once at the top you are greeted with some wonderful views. At this directional viewing area you can see to the east and south. Which, makes for a great sunrise run or hike (Recommended). And if you want different perspectives of the views you can explore some of the other trails because a couple lead to different lookout areas. When coming down it is easy on the knees since it is moderately sloped. Overall you can get up and down this hike in under 2 hours walking and under 30 minutes trail running depending on your pace.


Getting There

To get to this trailhead you take exit 25 off of I-93 and a left onto  RT.175. You only go about .4 miles on 175 till you take a left on Mt. Prospect Rd. near Holderness School. Continue up Mt. Prospect road for about 2-2.5 miles until you come to a big white farm house on your left. The trail is across from that houses yard and is marked by two big granite slabs laying flat on the ground.

FYI

A little more than half way up the trail it splits into two directions. It gives you the option of going LEFT or right. If you want to go to the summit and see the views take the trail to the LEFT.

IMG_3707

trail split

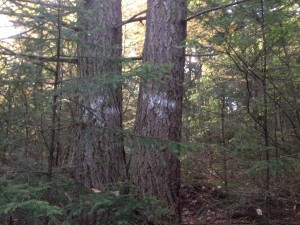
You can tell you are at the correct split when you see the two trees marked with white on both where the trail breaks.

IMG_3706

trees marked with white

   This is where you want to go LEFT. The other trails brings you in a little loop part of the way down the mountain and eventually back to the trail you started on. Other than that the main trail is easy to follow to the top and you will see other trails on the way up which, I encourage you to check out if you have the time. Explore, enjoy and be inspired by nature!


Rattle Snake Mtn. (1,594 ft)


IMG_3667

Eastern view

Rattle Snake Mountain is best known for its rock climbing. However, on the other side of the rock walls there is a great little hike; the Rattle Snake MTN. trail.  Part of the white mountains national forest this fairly moderate hike will only take you about 2 hours moving at an average pace. The hike gets a little steep but, nothing to bad, especially for how short it is(2.6 miles round trip). However, don’t let the height and length of this trail fool you because it offers great views; with an almost 360 degree view at the top and you can see in all directions.


IMG_3668

Southern view

IMG_3666

Norther view

IMG_3654

Western view

Getting There

From I-93 take exit 26 onto 3A (Tenney mountain Hwy) towards Rumney. Once at the rotary take the first exit off, onto RT. 25 (Mt. Moosilauke Hwy.). You’ll pass the polar caves and keep going down this road till you see Main st. on your right, which you will take. Then you pass a restaurant called “Rumney Rock Bistro”. Once you are at an intersection right by the “Common Cafe” take the left onto Buffalo Rd. Follow this road till you see the parking lots for Rumney Rocks. The trail head is about 1 mile after the parking lots on your right.

IMG_3639

you will see this sign on the road across from the trail head.


FYI

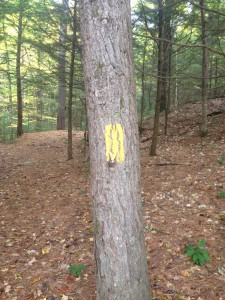
Once yIMG_3643ou’re almost at the top of the mountain the trail splits left and right. Either way will bring you to the summit. Keep walking once you’re at the top, it will bring you in a loop back to the trail you began on. The loop is not long and this is how you’ll get all the views. So come prepared, follow the yellow trail markers and enjoy your hike!!
IMG_3642

yellow trail marker